The steps below will cover creating an example rule. Each section covers a Rule Editor section in Emergency Alert.
For this example, we are setting up a rule so that messages received from “Boss” that start with the words “URGENT” trigger an alert.
To get started adding a rule, open Emergency Alert and press the “+” button from the bottom right.
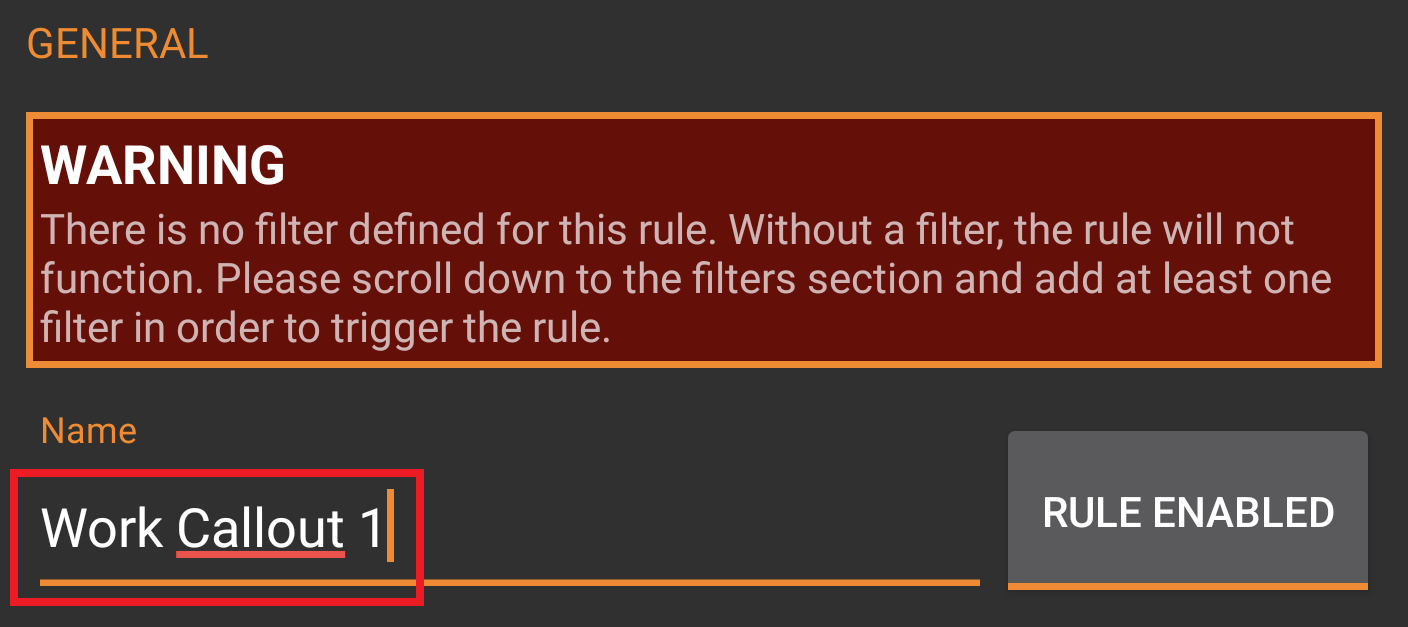
Name #
The rule requires a name in order to be identified. It does not need to be unique, but it should be descriptive as to what the rule will alert for. In this example, the rule name is set to “Work Callout 1”
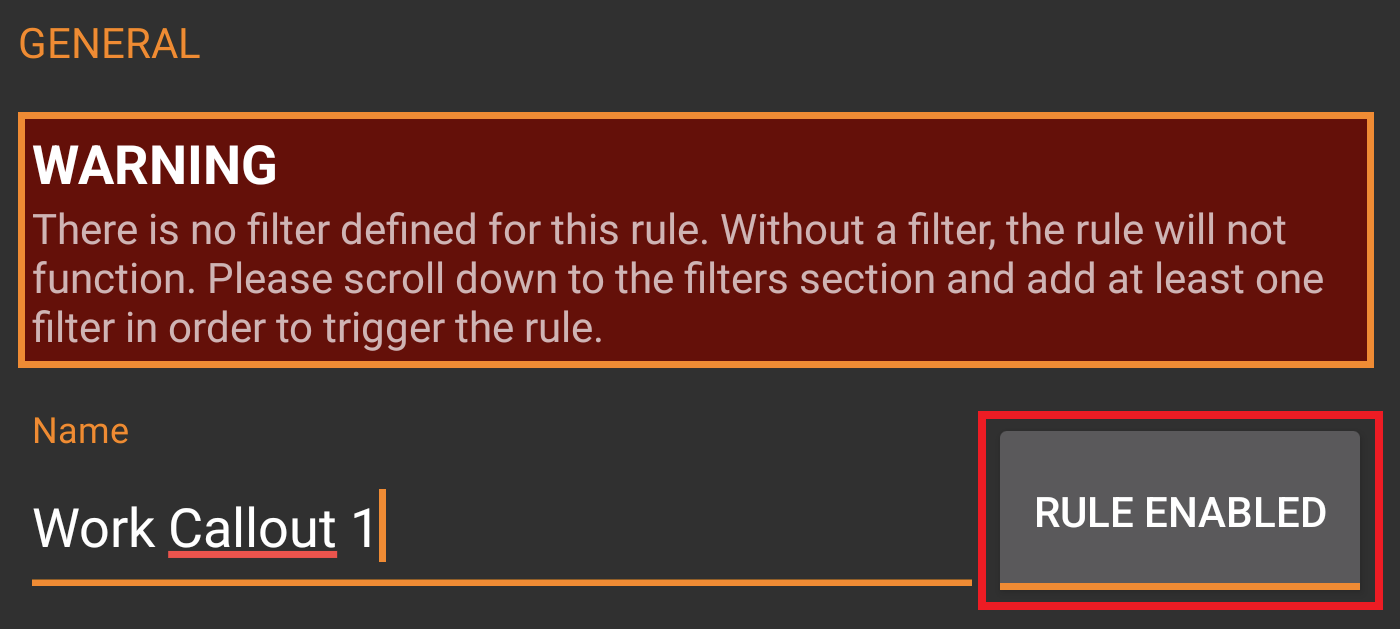
Enable/Disable #
The rule needs to be enabled to function. Make sure “Rule Enabled” is displayed next to the name field.
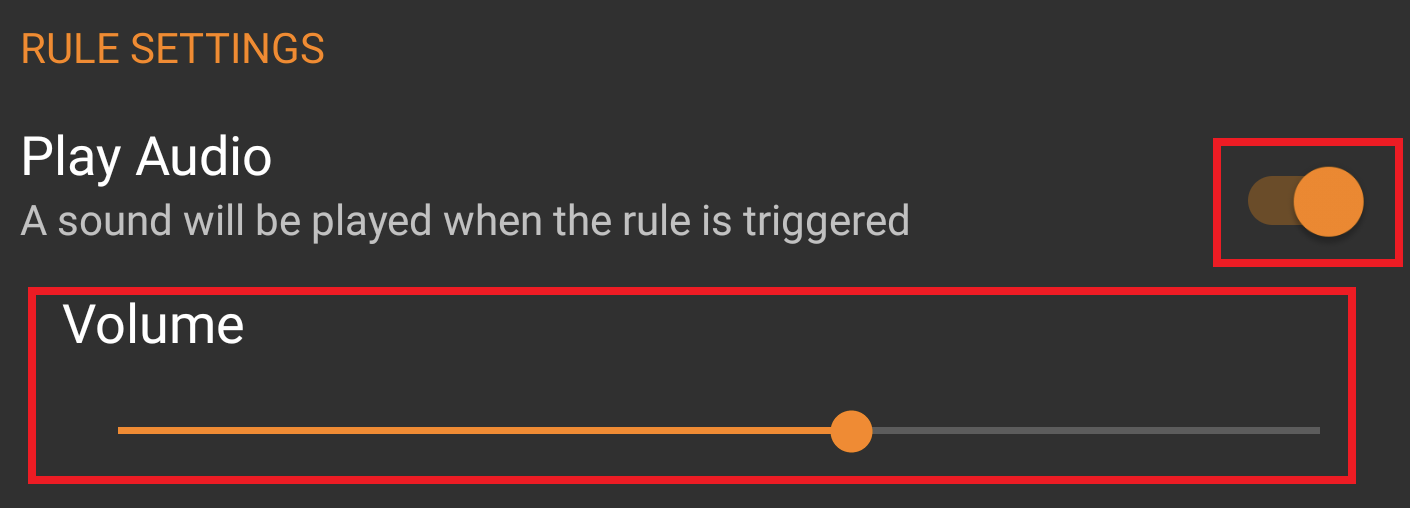
Play Audio #
If you want the rule to play audio when it is triggered, turn on the toggle. This will display some further options:
- Volume – this allows you to set the volume for the audio, ranging from very quiet to extremely loud
Please note: Volume may not be available if the “Use Global Volume” setting is enabled in the “Settings” screen.
Sound Selection – Built-In #
This allows you to select one of the included alert sounds from the app.
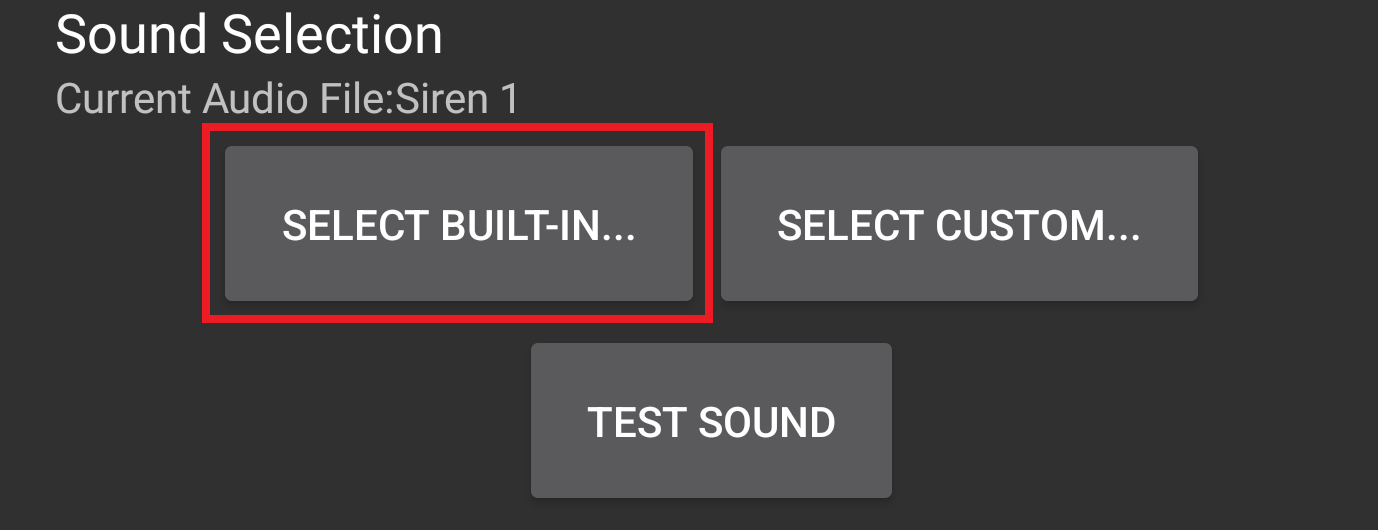
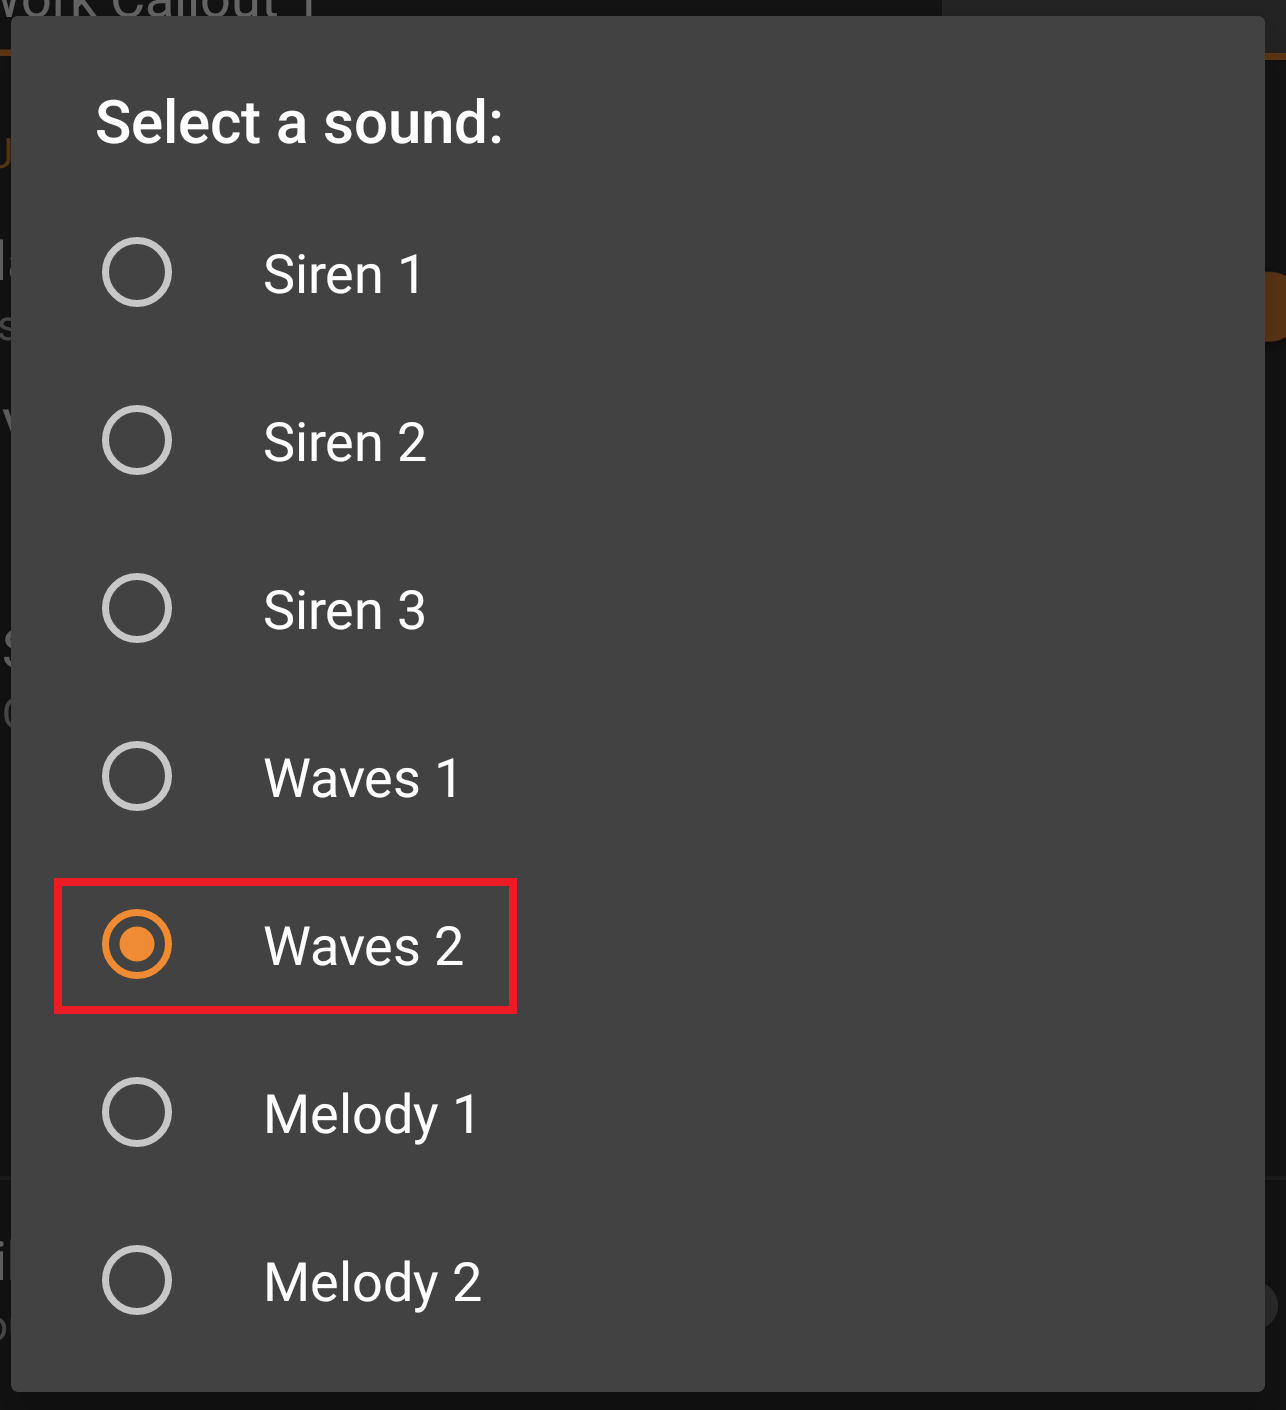
Tapping the “Select Built-In” button will open the sound selector. Select the sound you want to use for the alert to:
Sound Selection – Custom #
This allows you to select one of your own audio files to play back as the alert sound:
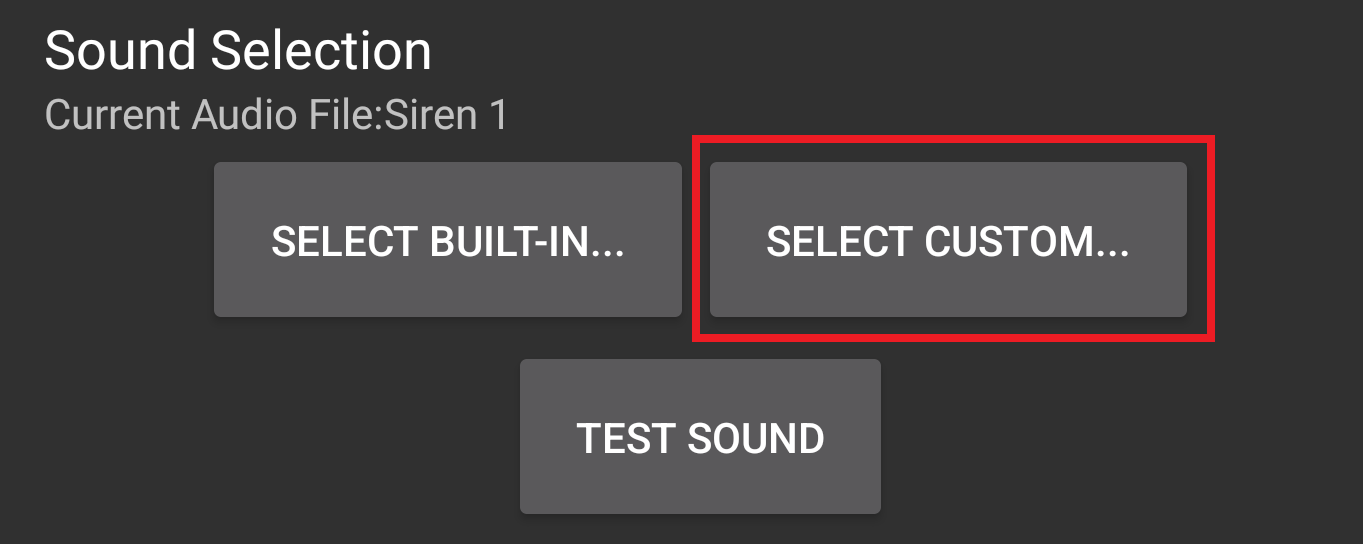
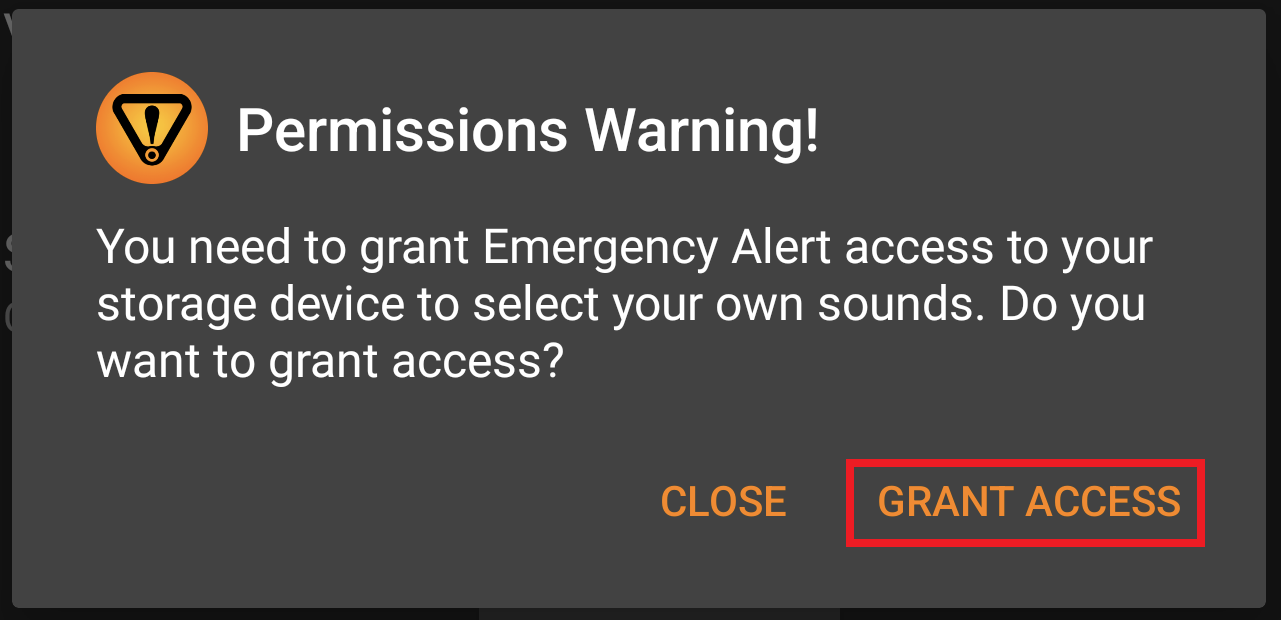
Tapping “Select Custom” will prompt you for access to your device storage:
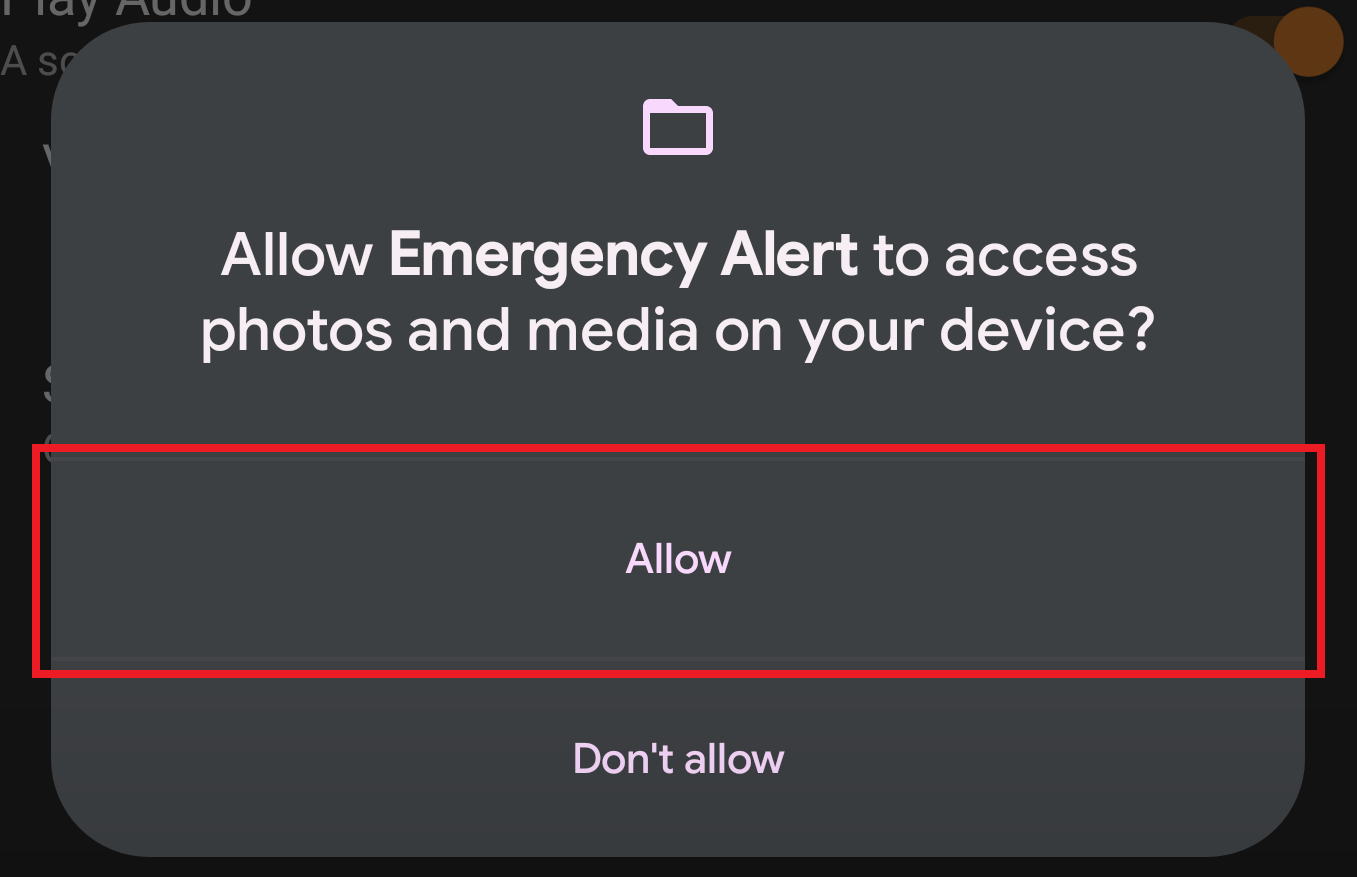
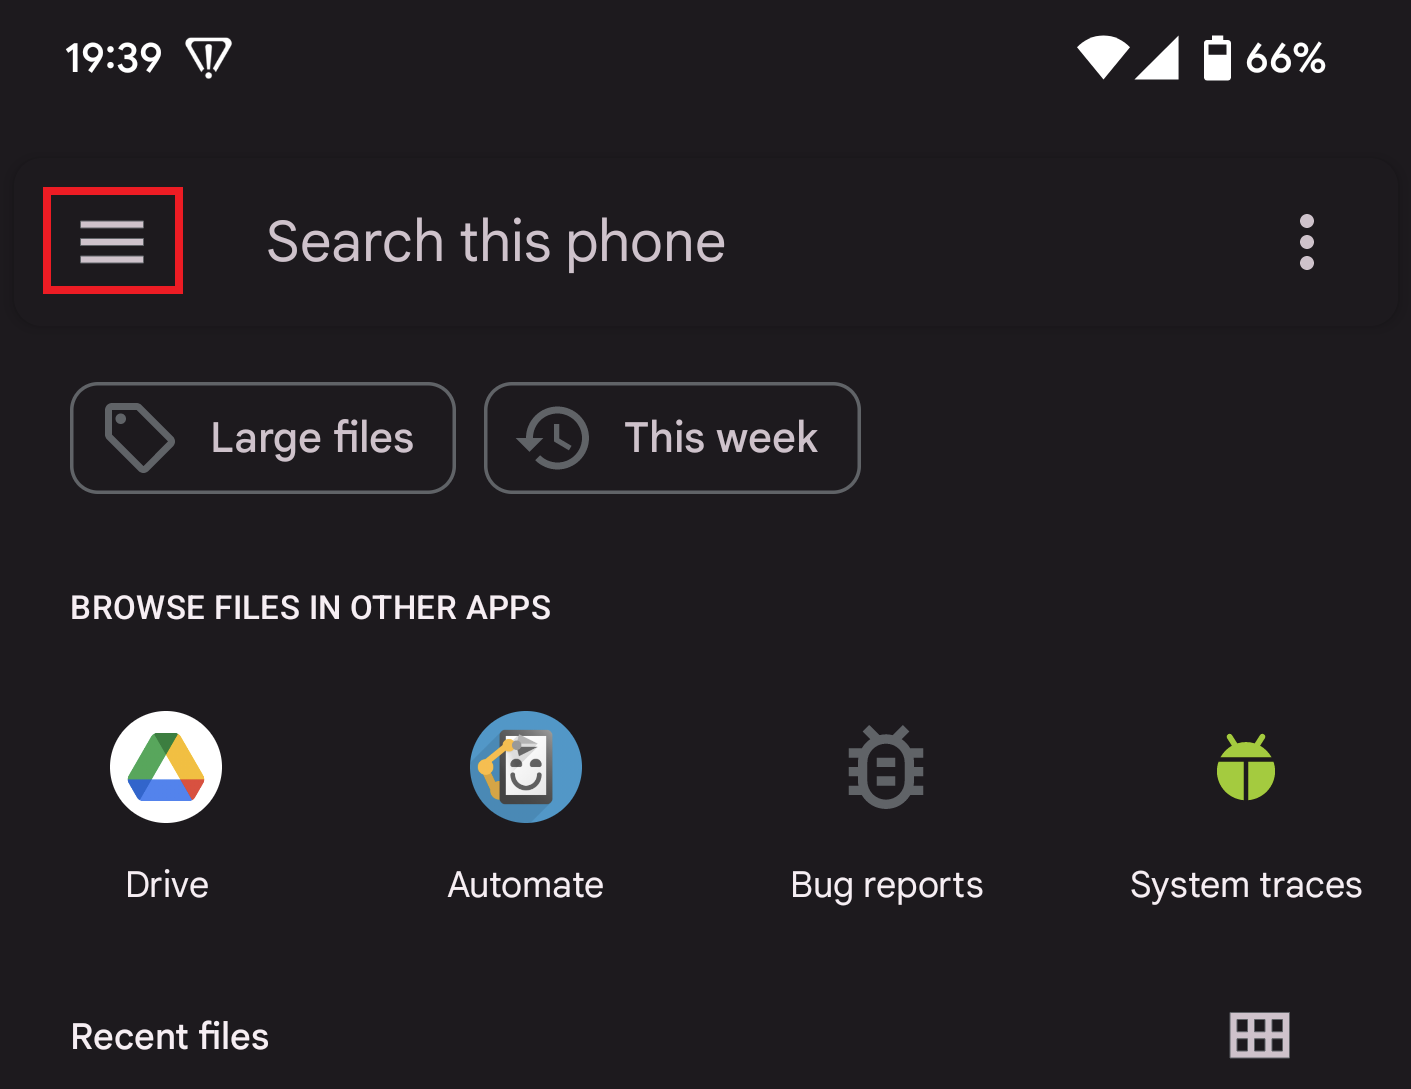
Once allowed, you can select any file (.mp3) from your device storage – click the menu button to view your device storage, highlighted in the red box below (note, this step may vary from device to device):
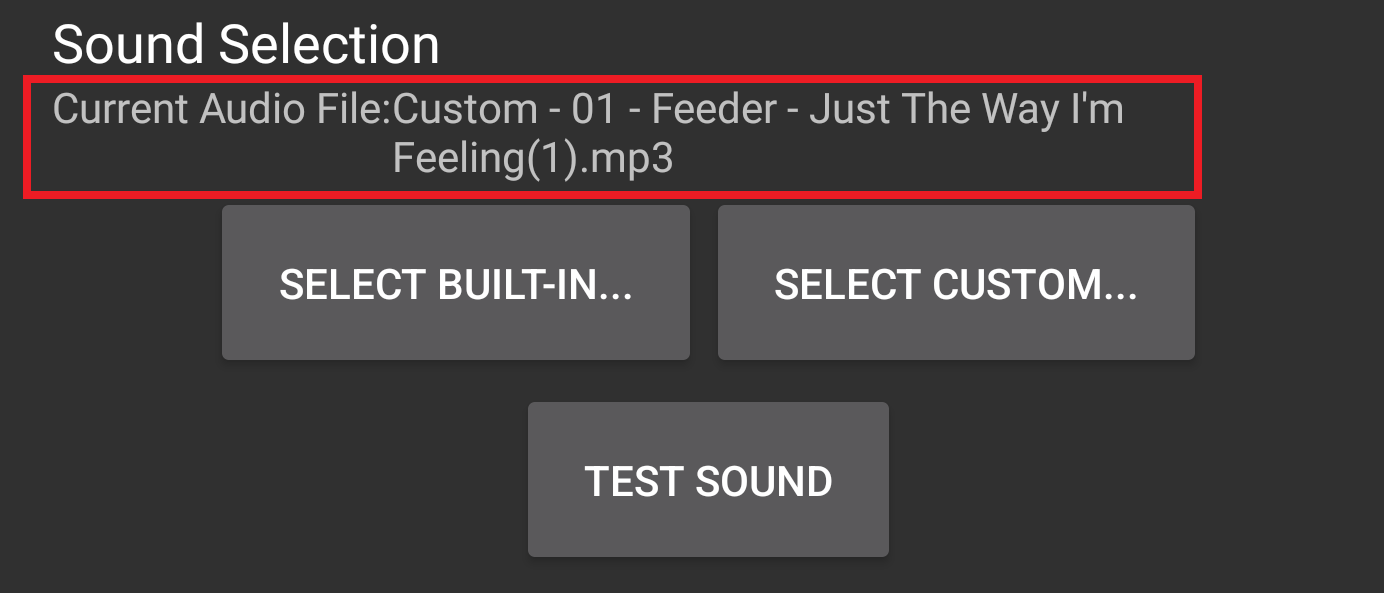
Once you have selected the sound, the file will be displayed next to “Current Audio File”:
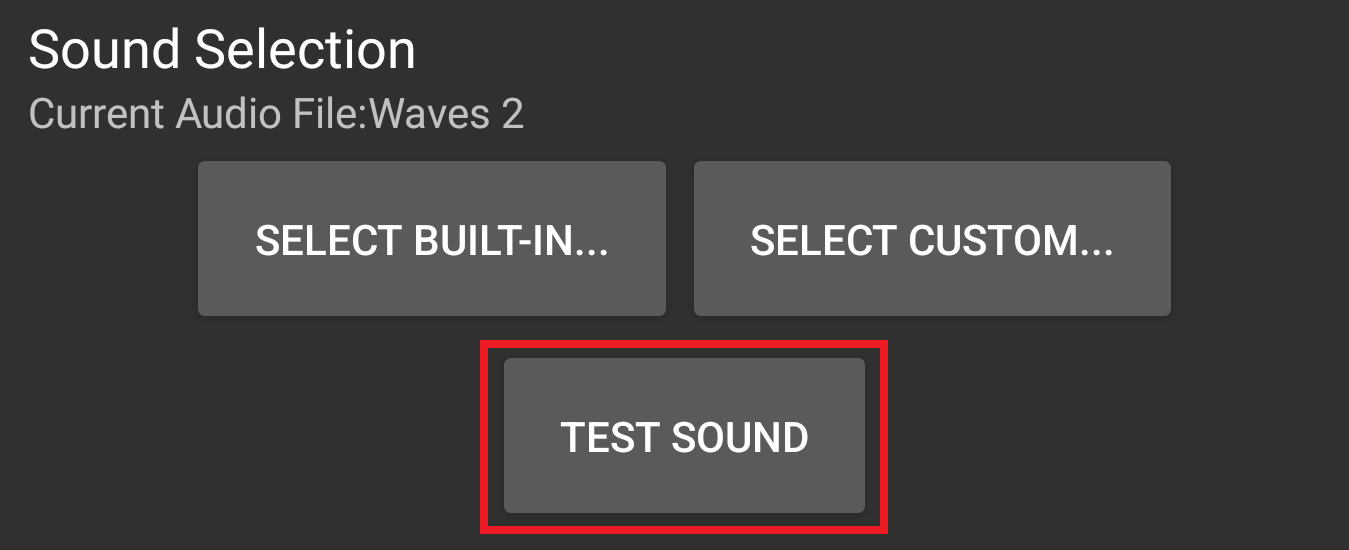
To test the audio file and volume, tap the “Test Sound” button:
If you disable both “Play Audio” and “Vibrate” only a popup will be displayed with the alert text.
Vibrate #
If you want the rule to make your device vibrate, turn on the toggle for this setting.

If you disable both “Play Audio” and “Vibrate” only a popup will be displayed with the alert text.
Schedule #
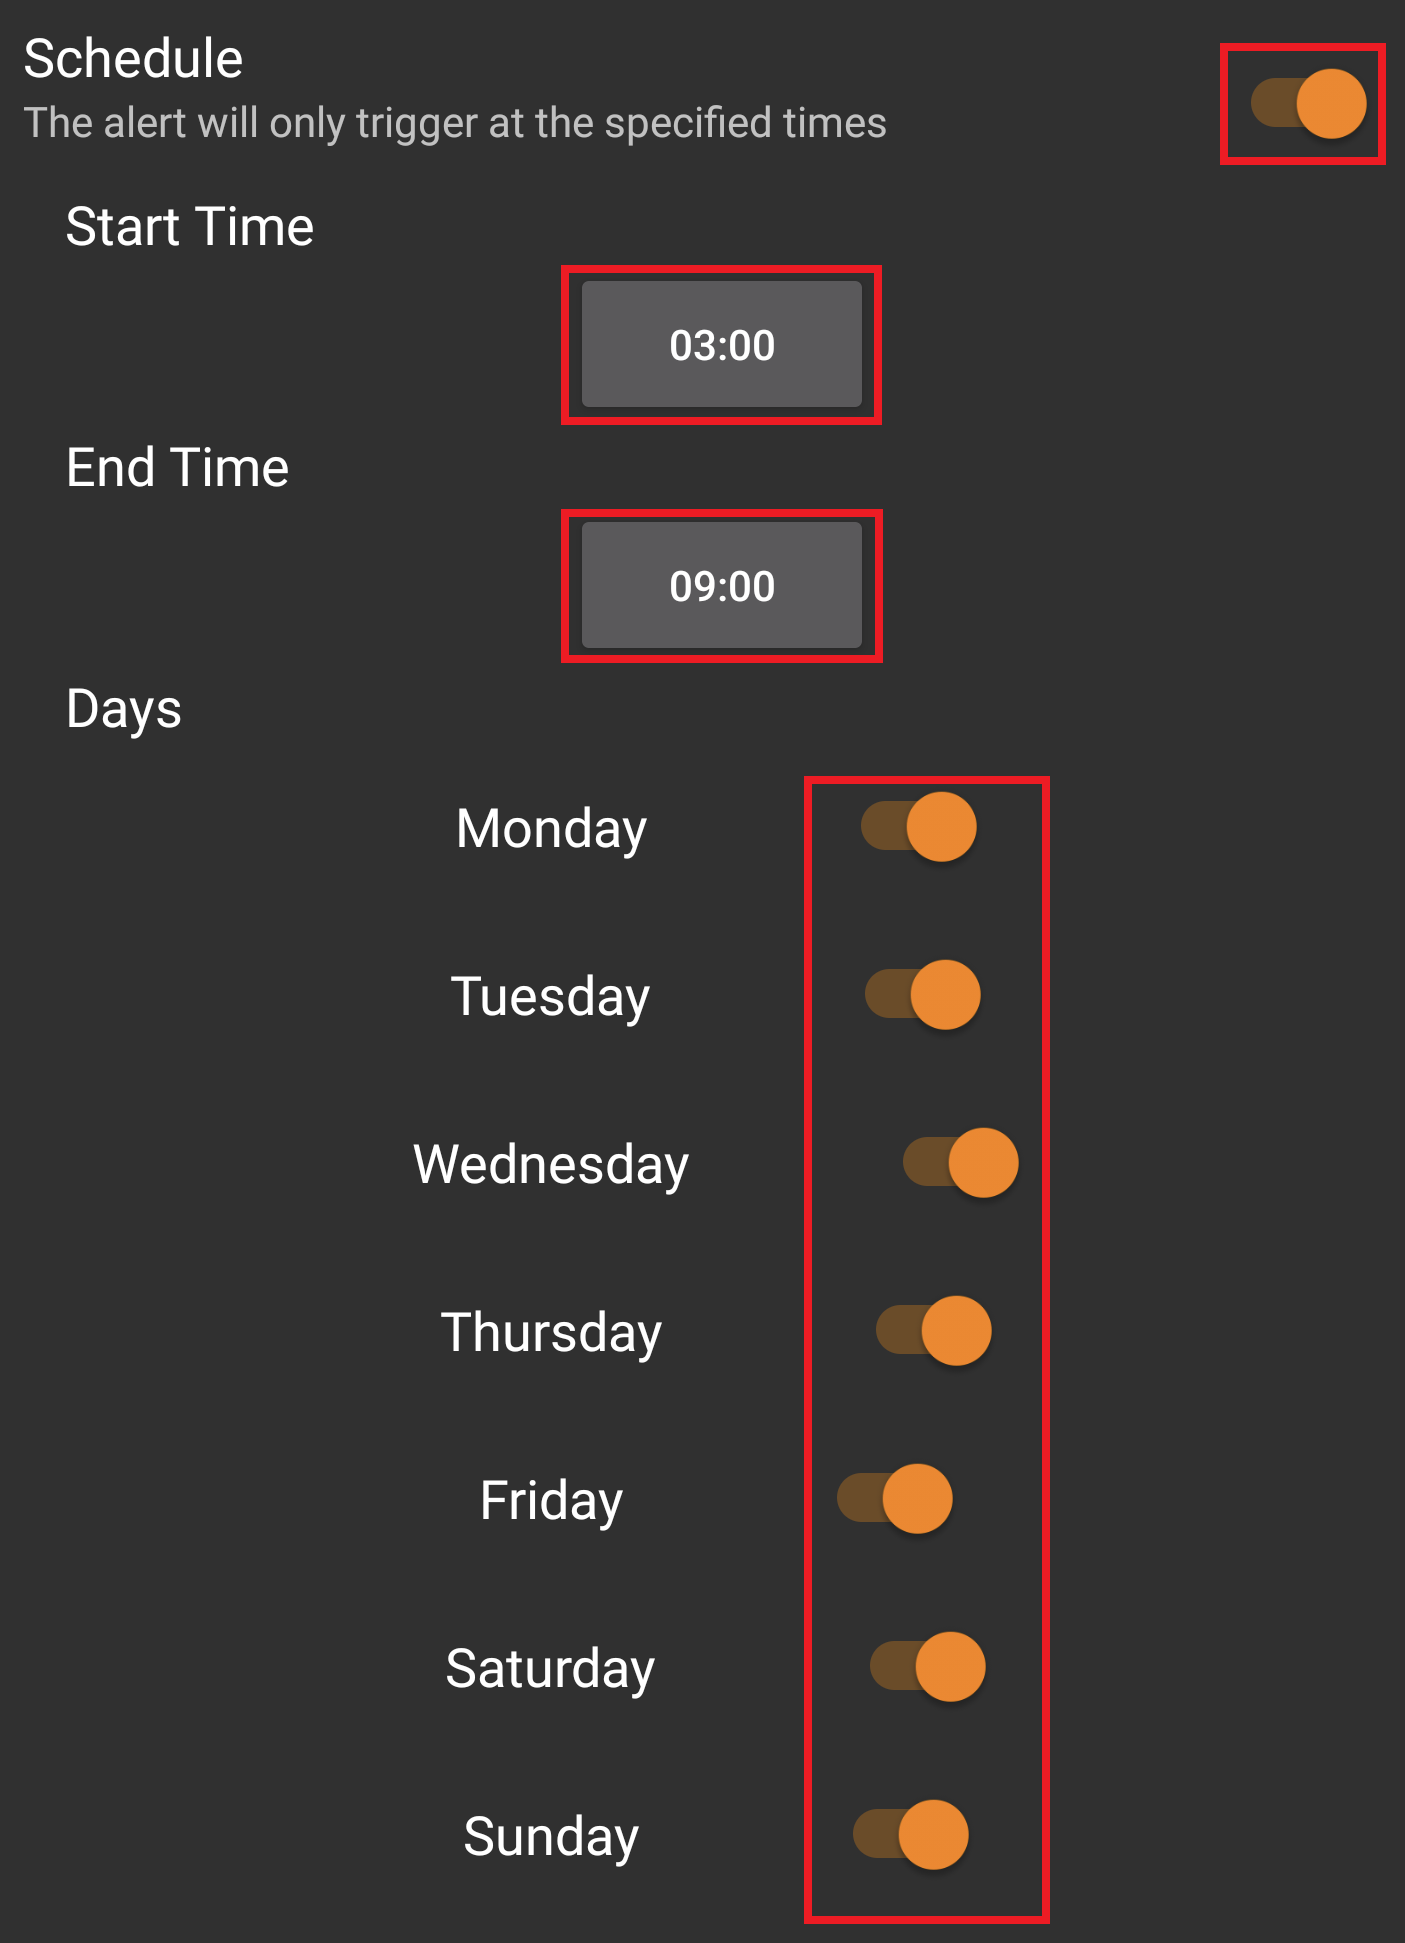
If you want to set a schedule for when the rule is active, turn on the toggle for this setting. When enabled you can set:
- A start time
- An end time
- The days the schedule should be active
In this example, the rule will be active between the hours of 3am-9am on a daily basis:
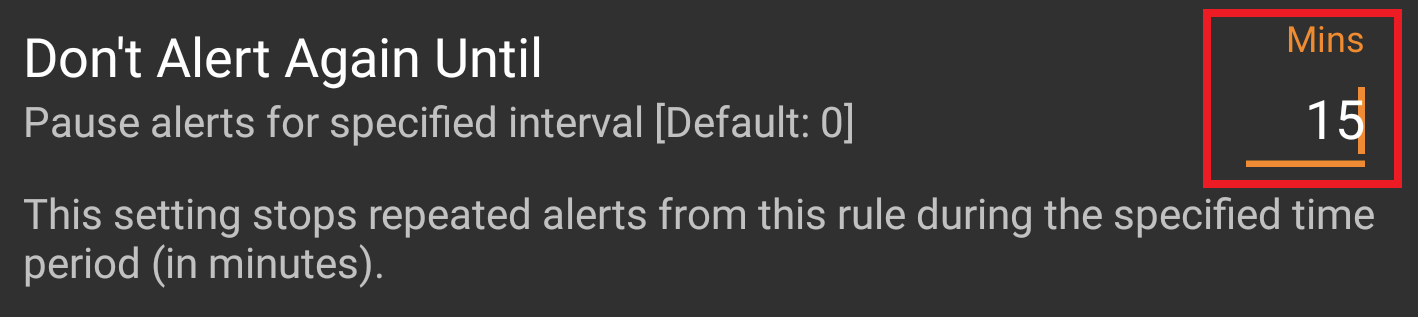
Don’t Alert Again Until #
This setting will pause alerts from this rule for the specified time. This feature is handy if you are likely to get multiple messages/notifications that might keep re-triggering the rule when you don’t want to. By default this is set to 0 minutes, which means every message/notification received that match the criteria will trigger the alert.
In this example we will set it to 15 minutes:
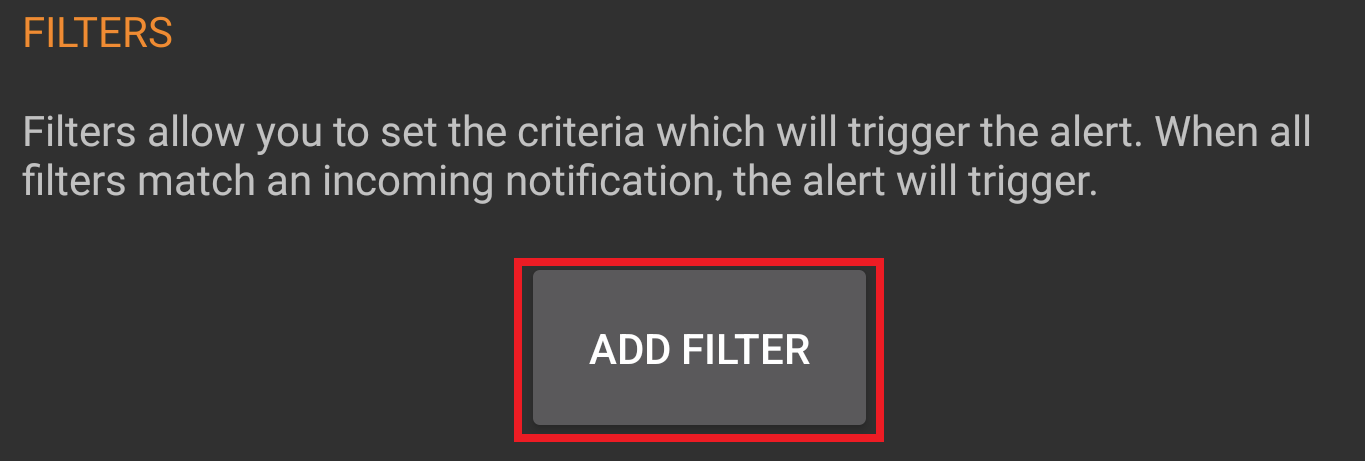
Filters #
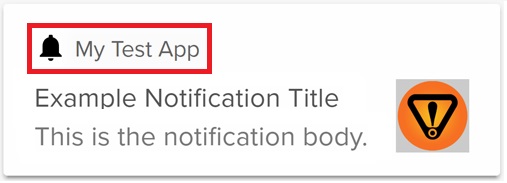
Filters use notifications provided by other apps on your device to trigger alerts. These notifications are shown in your notification shade (e.g. if you pull down from the top of the screen). For an example of what a notification looks like, see the screenshots towards the bottom of this section.
Multiple filters can be added. The more filters you add, the more specific you can be, which stops false alerting.
To add a filter, tap the “Add Filter” button:
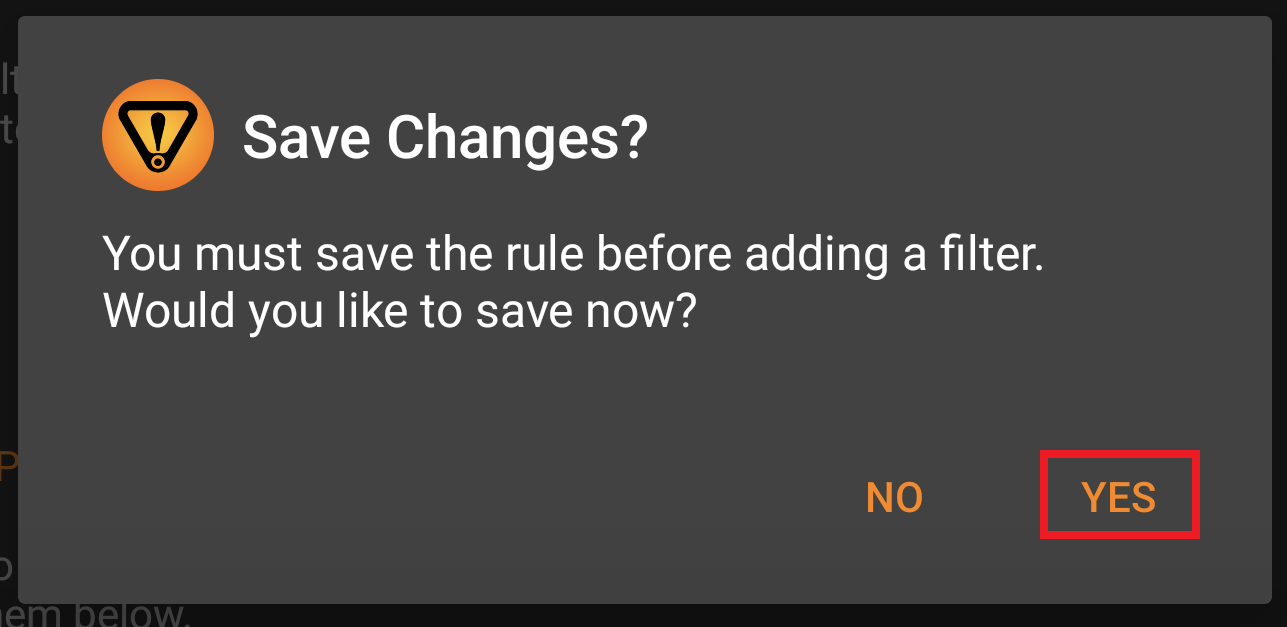
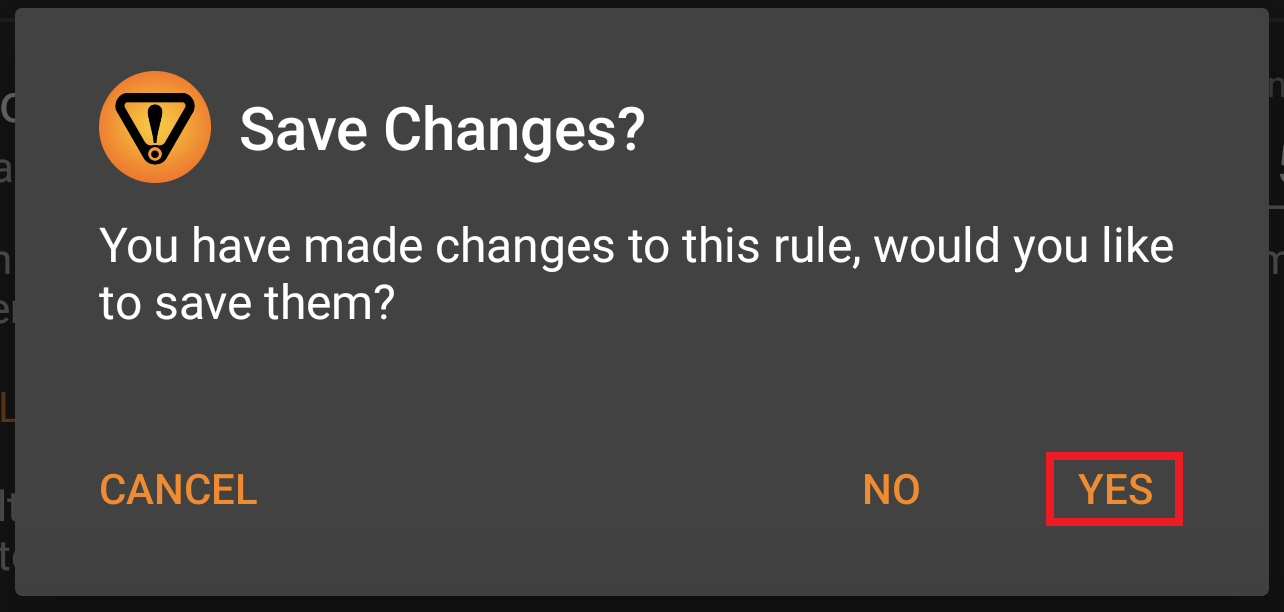
If your rule is not saved, you will be prompted to save now:
As a reminder, we are setting up a rule so that messages received from “Boss” that start with the words “URGENT” trigger an alert. Therefore we need 2 filters to be set up:
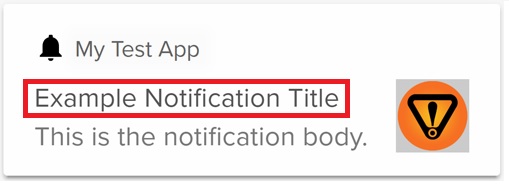
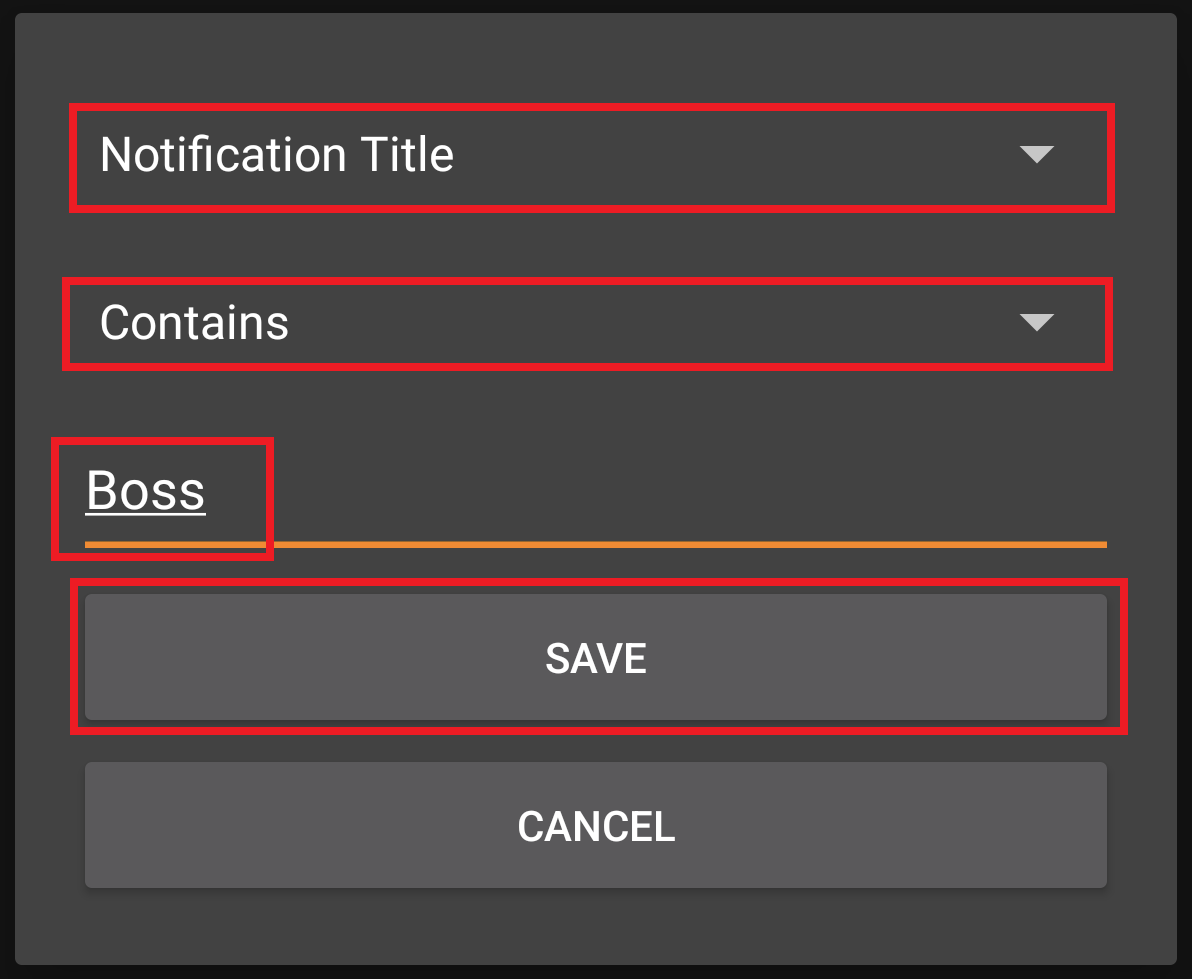
- Filter 1: Notification Title / Contains / Boss – tap “Save” to save the filter. An example of what a notification title looks like on your device is below. Usually this is the title of the notification, for email/SMS this is usually contact information:
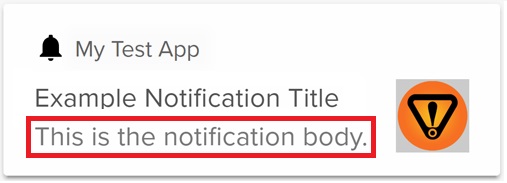
- Filter 2: Notification Body / Starts With / URGENT – tap “Save” to save the filter. An example of what a notification body looks like on your device is below. Usually this is the content of a message from an app:
Once you have added both filters, they should appear in the filter list:
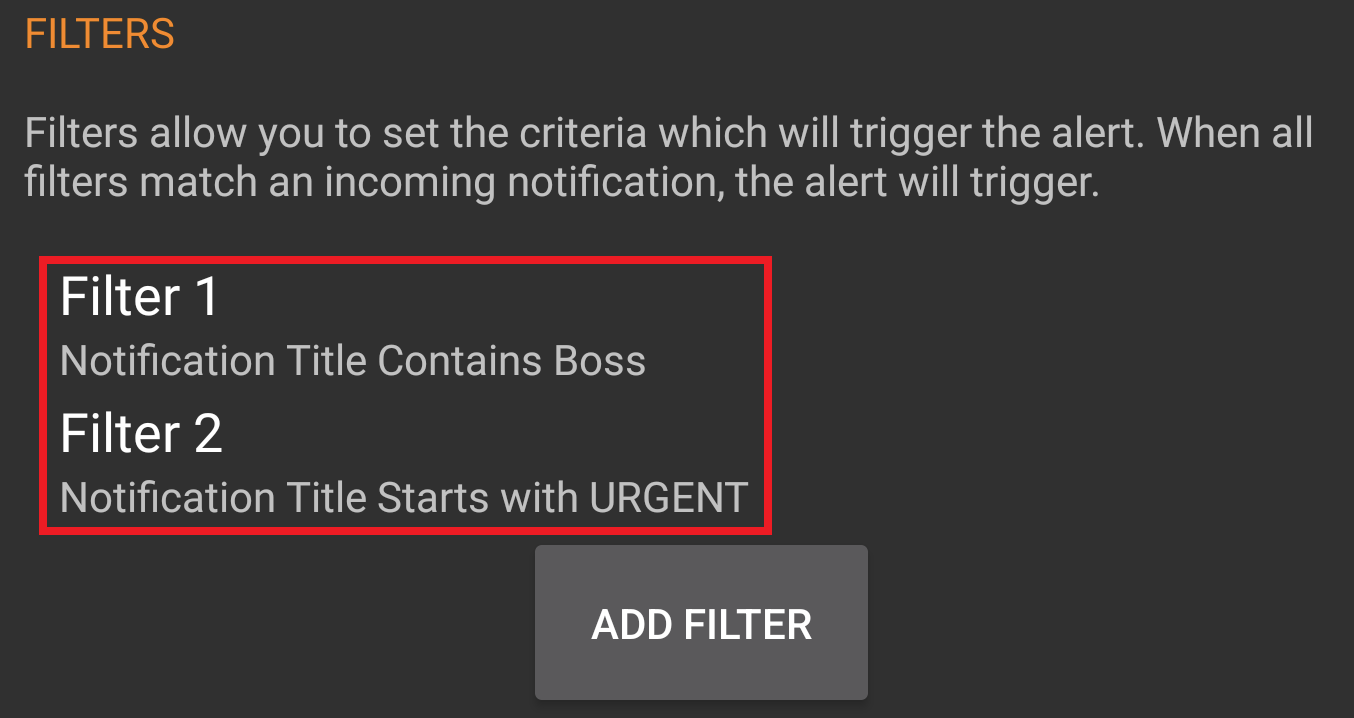
Please note: Filter text you enter is NOT case sensitive
Applications #
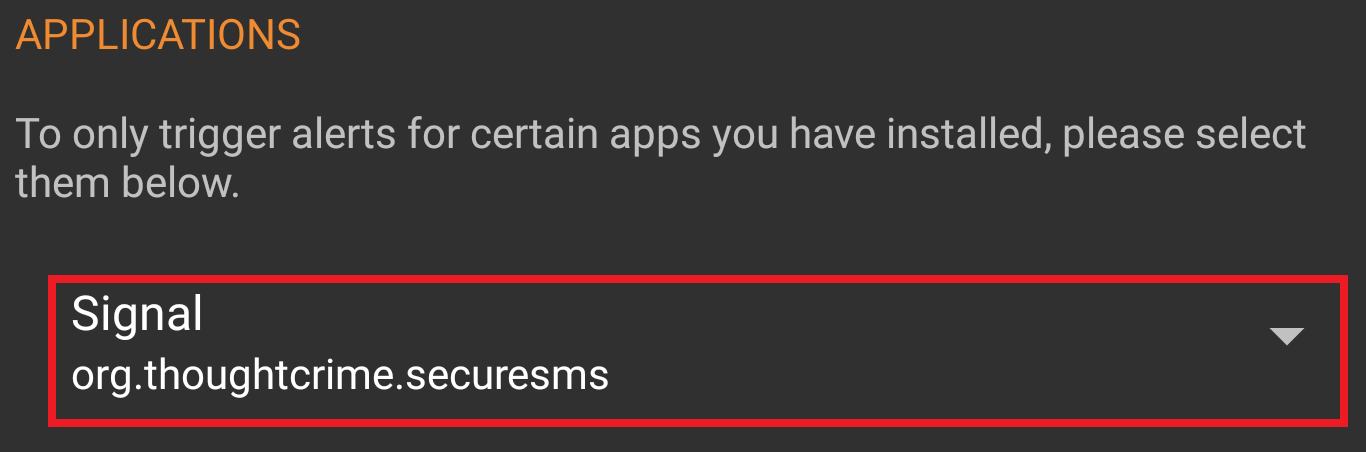
This section allows you to select a specific app to receive notifications from. This again helps reduce the chances of another app setting your alert off accidentally.
The default for this is “All Applications”.
In this example we are using Signal Messenger, but this could be WhatsApp, Messages, or your favourite Email app for example:
Usually you can see which app a notification has came from by the icon in the notification itself:
Saving #
To save changes to your rule, simply hit the back key at the top left of the screen and if there are any changes that need saving, you will be prompted to do so:


Leave a Reply
You must be logged in to post a comment.